
Thermocouple Installation Best Practices: Avoid These 7 Mistakes 🌡️
Thermocouples are the unsung heroes of temperature measurement in countless industrial and scientific applications. From monitoring critical processes in manufacturing plants to ensuring the safety of medical equipment, these seemingly simple devices play a vital role in providing accurate and reliable temperature data. However, their accuracy and longevity are heavily dependent on proper installation. Even the slightest oversight during the installation process can lead to significant errors, process inefficiencies, and potentially hazardous situations.
This comprehensive guide delves into the crucial realm of thermocouple installation best practices. We will highlight seven common mistakes that can compromise the performance and lifespan of your thermocouples, providing you with the knowledge and insights to avoid these pitfalls and ensure accurate and dependable temperature readings. By adhering to these best practices, you can optimize your temperature measurement systems, improve process control, reduce downtime, and ultimately save costs.
Understanding the Importance of Proper Thermocouple Installation
Before we dive into the common mistakes, let’s briefly underscore why proper thermocouple installation is so critical:
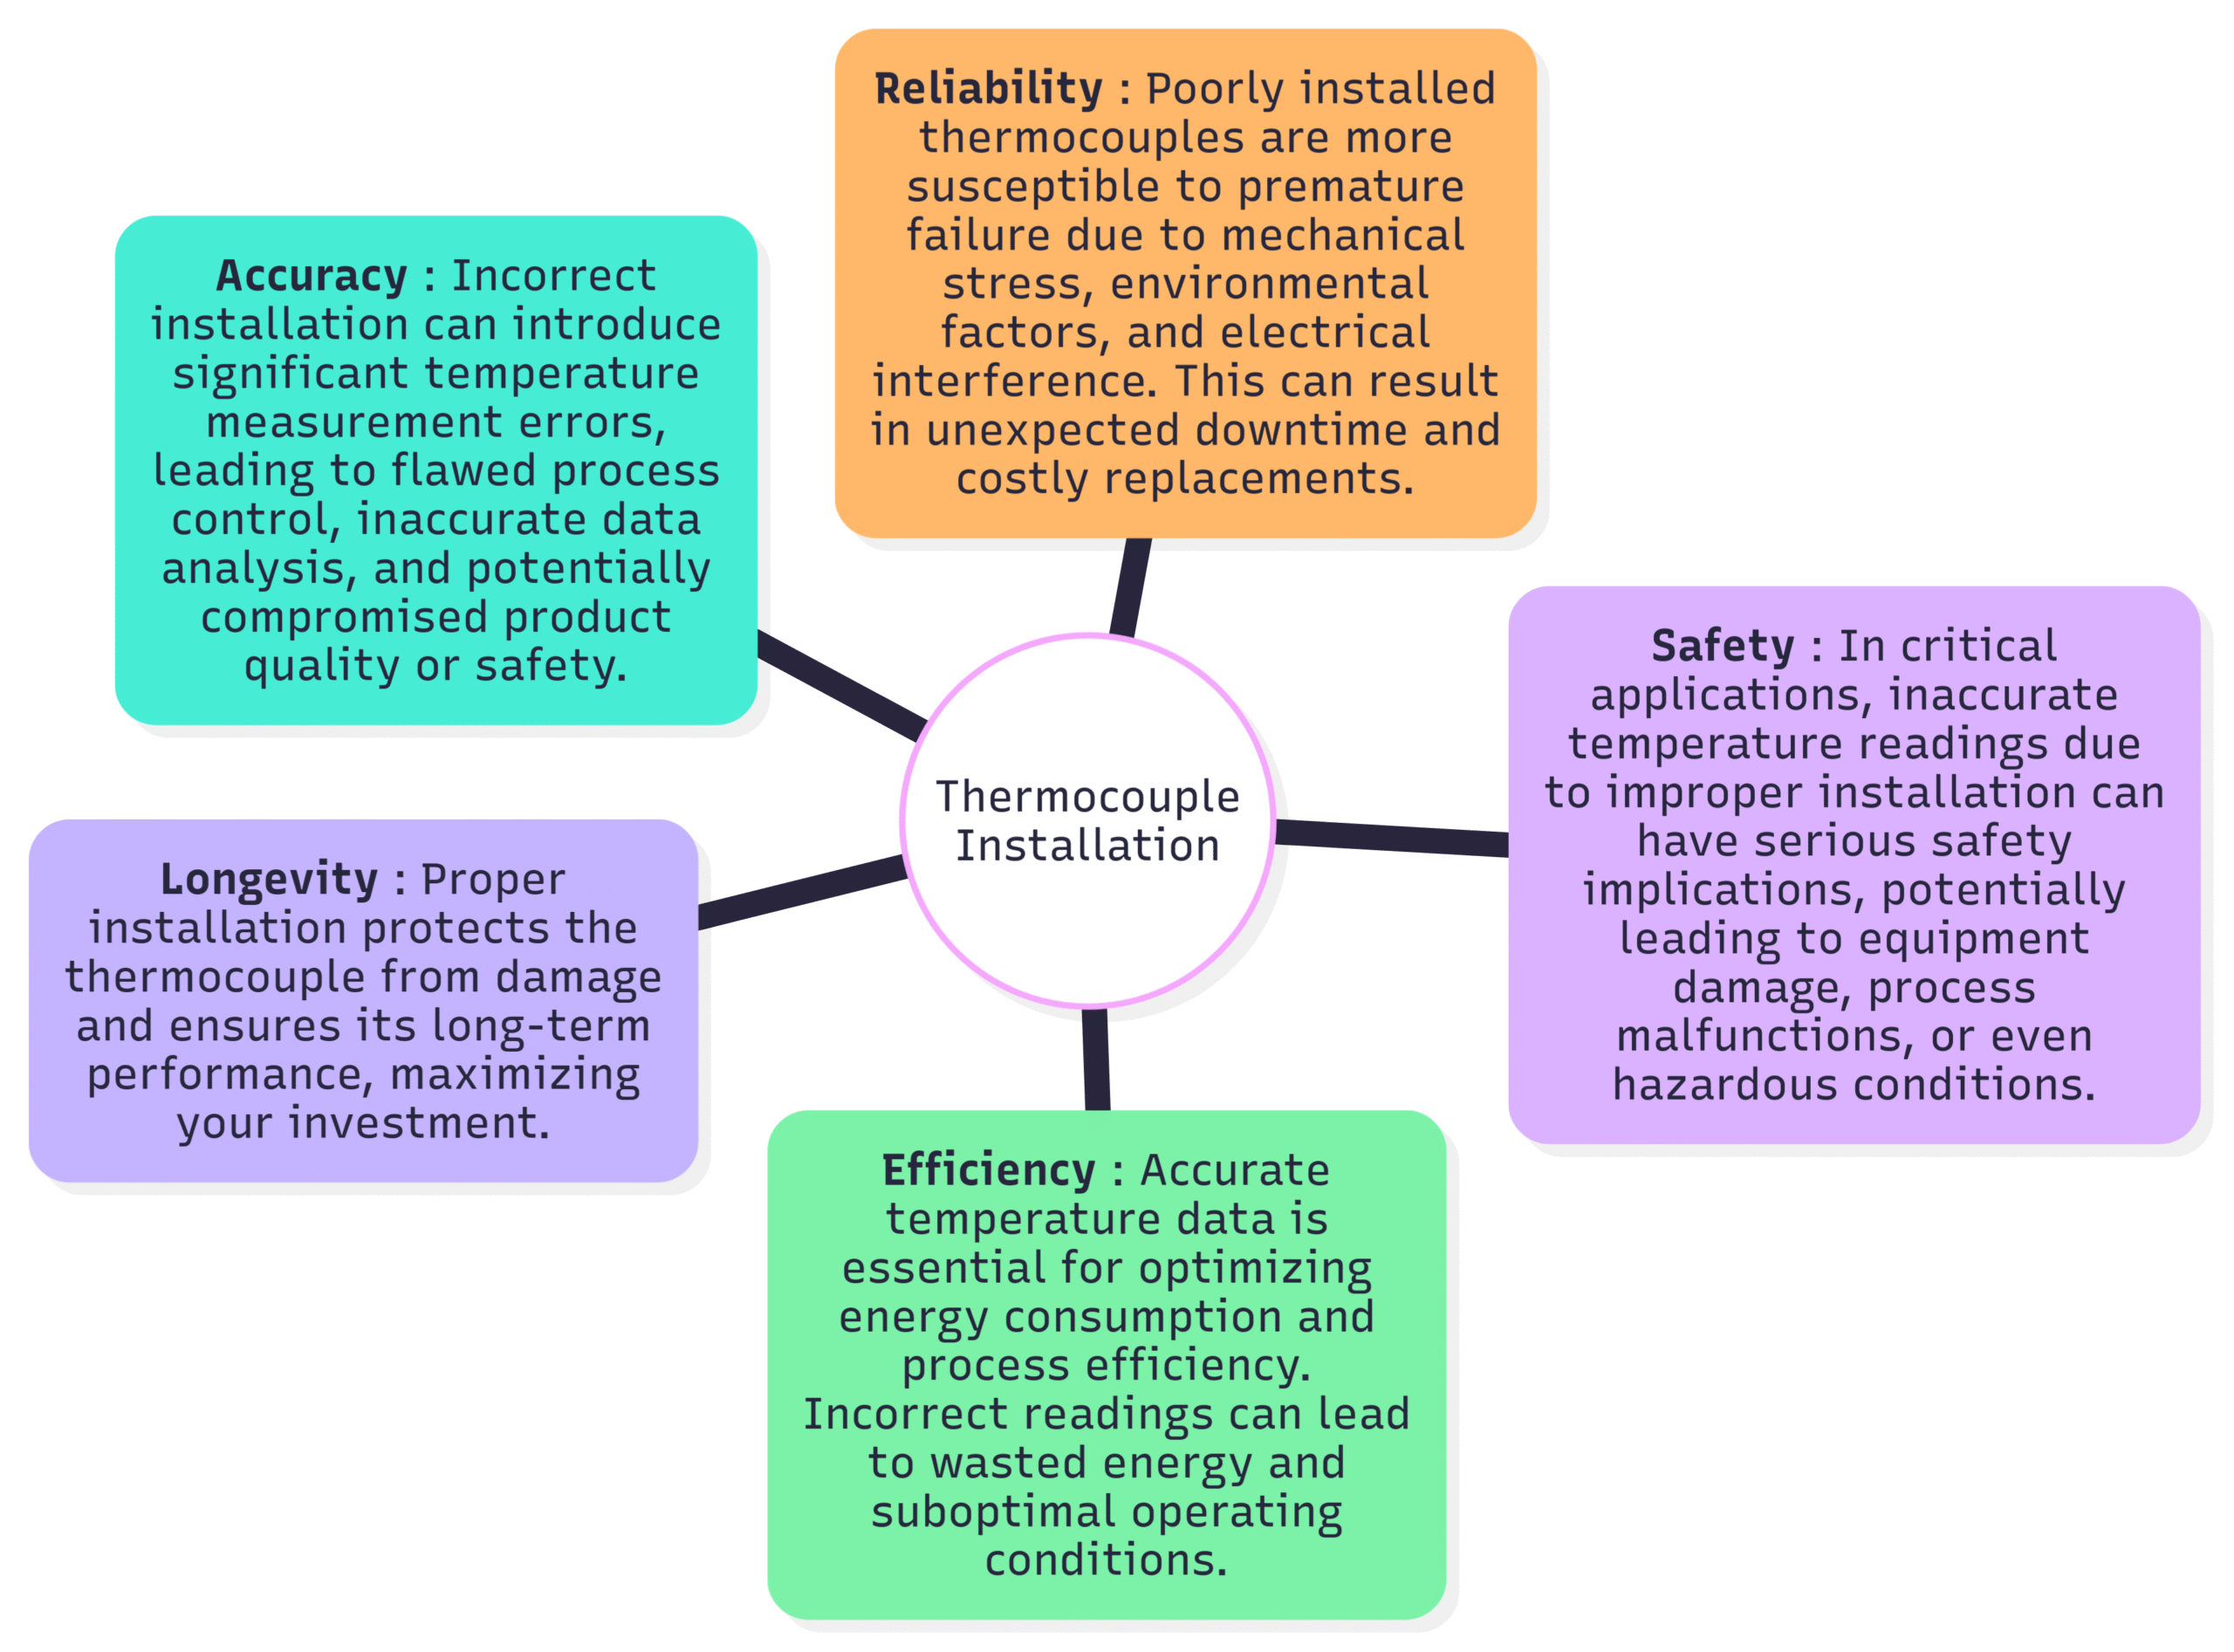
Accuracy: Incorrect installation can introduce significant temperature measurement errors, leading to flawed process control, inaccurate data analysis, and potentially compromised product quality or safety.
Reliability: Poorly installed thermocouples are more susceptible to premature failure due to mechanical stress, environmental factors, and electrical interference. This can result in unexpected downtime and costly replacements.
Safety: In critical applications, inaccurate temperature readings due to improper installation can have serious safety implications, potentially leading to equipment damage, process malfunctions, or even hazardous conditions.
Efficiency: Accurate temperature data is essential for optimizing energy consumption and process efficiency. Incorrect readings can lead to wasted energy and suboptimal operating conditions.
Longevity: Proper installation protects the thermocouple from damage and ensures its long-term performance, maximizing your investment.
Mistake #1: Incorrect Immersion Depth
One of the most fundamental yet frequently overlooked aspects of thermocouple installation is ensuring the correct immersion depth. The sensing junction of the thermocouple must be adequately immersed in the medium being measured to accurately reflect its temperature. Insufficient immersion can lead to significant errors due to heat conduction along the thermocouple sheath and heat exchange with the surrounding environment.
Why it’s a mistake: If the thermocouple is not inserted far enough into the process, the heat from the measured medium will be conducted away along the thermocouple sheath and dissipated into the cooler ambient air or mounting assembly. This results in the sensing junction registering a temperature lower than the actual process temperature.
Best Practice: A general rule of thumb is to immerse the thermocouple at least four to ten times the diameter of the protective sheath. For bare wire thermocouples, the immersion depth should be at least four times the wire diameter. However, factors such as the flow rate of the medium, the thermal conductivity of the sheath material, and the temperature difference between the process and the ambient environment can influence the required immersion depth. In high-flow or turbulent environments, deeper immersion may be necessary. Conversely, in stagnant or low-temperature differential applications, slightly less immersion might suffice. Consulting the thermocouple manufacturer’s recommendations for the specific sensor is always advisable. Additionally, using thermowells can help achieve proper immersion in pressurized or corrosive environments while allowing for easy thermocouple replacement.
Mistake #2: Poor Thermal Contact
Achieving good thermal contact between the thermocouple sensing junction and the medium being measured is paramount for accurate temperature readings, especially in surface temperature measurements. Any air gaps or insulating layers between the thermocouple and the surface can impede heat transfer, leading to significant measurement errors and slow response times.
Why it’s a mistake: Air is a poor conductor of heat. If there is an air gap between the thermocouple and the surface being measured, the heat transfer will be inefficient, and the thermocouple will not accurately reflect the surface temperature. Similarly, any dirt, corrosion, paint, or other insulating materials can act as a thermal barrier, hindering the flow of heat to the sensing junction.
Best Practice: Ensure the sensing junction is in direct and firm contact with the surface. For surface temperature measurements, consider using thermally conductive pastes or compounds to fill any microscopic air gaps and enhance heat transfer. These compounds are specifically designed to improve thermal contact and provide a more accurate reading. Proper cleaning of the measurement surface to remove any dirt, scale, or corrosion is also essential. Mechanical clamping, strapping, or welding (if appropriate for the application and materials) can be used to ensure consistent and firm contact. The method of attachment should be suitable for the temperature range and the materials involved. Always consider the thermal conductivity of the attachment method itself; for instance, using a highly insulating adhesive could negate the benefits of good surface contact.
Mistake #3: Mechanical Stress and Vibration
Thermocouple wires and sheaths are delicate and susceptible to damage from excessive mechanical stress and vibration. Bending, kinking, stretching, or subjecting the thermocouple to constant vibration can lead to fatigue, internal fractures, and eventual failure.
Why it’s a mistake: Mechanical stress can strain the thermocouple wires, altering their thermoelectric properties and leading to inaccurate readings. In extreme cases, it can cause the wires to break, resulting in complete sensor failure. Vibration can also cause the wires to work-harden and become brittle over time, increasing the likelihood of failure, particularly at connection points.
Best Practice: Route thermocouple wires and probes carefully to avoid sharp bends or areas prone to mechanical stress or impact. Use appropriate support clamps and strain reliefs to secure the thermocouple and prevent excessive movement or vibration. For applications involving significant vibration, consider using flexible sheathed thermocouples or vibration-dampening mounting techniques. Avoid pulling or stretching the thermocouple wires during installation. Ensure that the weight of any extension wires or connectors is not supported solely by the thermocouple itself. When routing wires, allow for some slack to accommodate thermal expansion and contraction. Regularly inspect thermocouples in high-vibration environments for any signs of damage or fatigue.
Mistake #4: Electrical Noise and Interference
Thermocouples generate very low-level voltage signals, making them susceptible to electrical noise and electromagnetic interference (EMI) from nearby electrical equipment such as motors, power lines, and radio frequency sources. This interference can distort the thermocouple signal, leading to inaccurate temperature readings.
Why it’s a mistake: Electrical noise can induce unwanted voltages in the thermocouple circuit, which are then superimposed on the actual thermoelectric voltage. This can result in erratic or offset temperature readings, making it difficult to obtain reliable data.
Best Practice: Implement proper shielding and grounding techniques to minimize electrical noise. Use shielded thermocouple extension wires and ensure the shield is properly grounded at one end (typically the instrument side) to prevent ground loops. Avoid running thermocouple wires parallel to high-voltage power lines or near sources of significant EMI. If possible, use twisted pair extension wires to further reduce noise pickup. Employ common-mode rejection capabilities in your measurement instrumentation. Consider using signal conditioners or isolators if noise levels are particularly high. Ensure that all electrical connections are clean and secure to minimize contact resistance, which can also contribute to noise issues. Regularly inspect grounding connections for corrosion or looseness.
Mistake #5: Incorrect Wiring and Connections
Incorrect wiring and connections are a common source of thermocouple measurement errors. This includes reversing the polarity of the thermocouple or using the wrong type of extension wire, which can introduce dissimilar metal junctions and lead to inaccurate readings.
Why it’s a mistake: Thermocouples rely on the Seebeck effect, which generates a voltage proportional to the temperature difference between the hot and cold junctions. Reversing the polarity of the connection will result in a temperature reading that is significantly off or even negative. Using the wrong type of extension wire introduces unintended thermoelectric junctions with different temperature-voltage characteristics than the thermocouple itself, leading to measurement errors.
Best Practice: Always adhere to the correct polarity when connecting the thermocouple to the measurement instrument. Thermocouple wires are typically color-coded according to ANSI standards (e.g., Type K: positive leg is yellow, negative leg is red). Ensure that the positive lead of the thermocouple is connected to the positive terminal of the instrument and the negative lead to the negative terminal. Use only thermocouple extension wire of the correct type that matches the thermocouple alloy composition. Extension wires are designed to have similar thermoelectric properties as the thermocouple wires over a limited temperature range. Avoid using general-purpose copper wire for extending thermocouple connections, as this will introduce significant errors due to the formation of unwanted thermoelectric junctions. Ensure all connections are clean, tight, and free of corrosion. Use appropriate connectors that are also made of compatible materials.
Mistake #6: Exceeding Temperature Limits
Every thermocouple has a specific temperature range within which it is designed to operate accurately and reliably. Exceeding these temperature limits can lead to irreversible changes in the thermocouple’s thermoelectric properties, resulting in calibration drift and premature failure.
Why it’s a mistake: When a thermocouple is exposed to temperatures beyond its specified limit, the metallurgical structure of the thermocouple alloys can change. This alters the relationship between temperature and the generated thermoelectric voltage, leading to inaccurate readings. Prolonged exposure to excessive temperatures can also cause oxidation, corrosion, and embrittlement of the thermocouple wires, ultimately leading to sensor failure.
Best Practice: Always select a thermocouple type that is appropriate for the expected temperature range of your application. Refer to the manufacturer’s specifications for the maximum operating temperature of the thermocouple. Consider the continuous operating temperature as well as any potential short-term temperature excursions. If the process involves temperatures exceeding the limits of standard thermocouple alloys, explore the use of high-temperature thermocouples made from specialized materials or consider using thermowells to provide some protection and potentially extend the lifespan of the sensor. Regularly monitor process temperatures to ensure they remain within the thermocouple’s operating range. Replace thermocouples that have been exposed to excessive temperatures, even if they appear to be functioning, as their calibration may have shifted.
Mistake #7: Ignoring Environmental Factors
The environmental conditions surrounding the thermocouple installation can significantly impact its performance and longevity. Exposure to corrosive chemicals, moisture, dust, and extreme temperature fluctuations can degrade the thermocouple materials and lead to premature failure.
Why it’s a mistake: Corrosive atmospheres can attack the thermocouple sheath and wires, leading to thinning, embrittlement, and eventual breakage. Moisture ingress can cause short circuits or insulation breakdown, especially at connection points. Dust and debris can accumulate on the sensor, affecting thermal contact or interfering with its operation. Rapid temperature changes can induce thermal stress, particularly at dissimilar metal junctions.
Best Practice: Select a thermocouple with a protective sheath material that is compatible with the process environment. If the thermocouple will be exposed to corrosive substances, choose a sheath material that offers adequate chemical resistance. Use sealed terminal blocks and connectors to protect against moisture and dust ingress. Consider using thermowells to isolate the thermocouple from harsh process conditions, including pressure, flow, and corrosive media. Install thermocouples in locations that minimize exposure to extreme temperature fluctuations or provide adequate insulation. For outdoor installations, protect the thermocouple and its connections from the elements using weatherproof enclosures. Regularly inspect thermocouples and their connections for any signs of corrosion, moisture damage, or accumulation of debris. Implement a preventative maintenance schedule that includes cleaning and replacing thermocouples as needed.
Conclusion: Investing in Proper Installation for Reliable Temperature Measurement
Proper thermocouple installation is not merely a procedural detail; it is a fundamental aspect of ensuring accurate, reliable, and safe temperature measurement. By understanding and avoiding the seven common mistakes outlined in this guide – incorrect immersion depth, poor thermal contact, mechanical stress and vibration, electrical noise and interference, incorrect wiring and connections, exceeding temperature limits, and ignoring environmental factors – you can significantly enhance the performance and lifespan of your thermocouples.
Investing the time and effort in following these best practices will pay dividends in the form of improved process control, reduced downtime, minimized errors, and ultimately, a more efficient and reliable temperature measurement system. Remember to always consult the thermocouple manufacturer’s recommendations and relevant industry standards for specific guidance tailored to your application. By prioritizing proper installation, you are laying the foundation for accurate temperature data and the successful operation of your critical processes.