
Understanding the Sample Lag Time Calculation
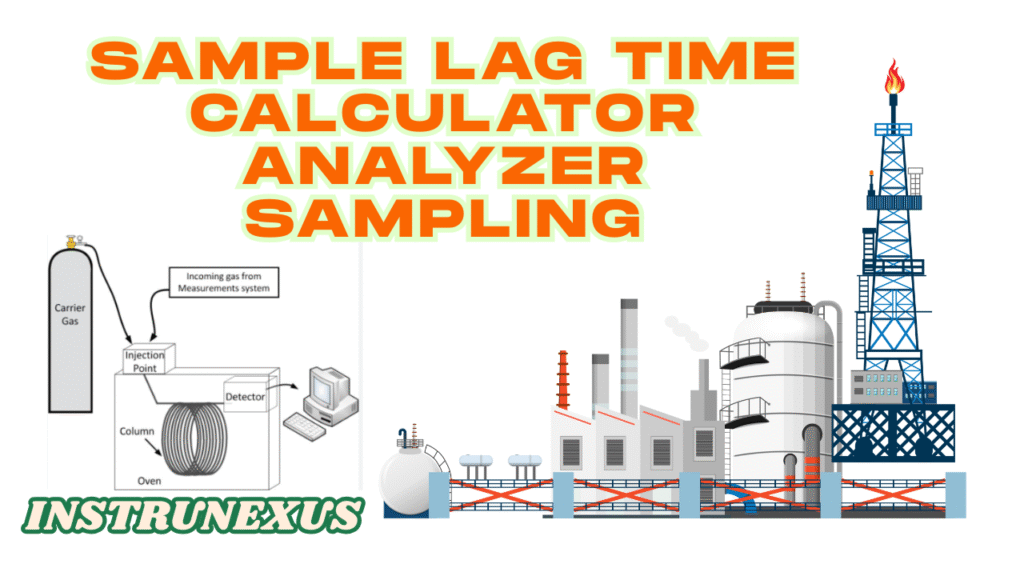
This document explains the engineering and physics principles behind the Sample Lag Time Calculator. The primary goal is to determine how long it takes for a gas sample to travel from the process tapping point to the analyzer. This is crucial for ensuring that the analyzer’s reading accurately reflects the current state of the process.
The calculation can be broken down into four main steps:
Step 1: Calculate the Internal Volume of the Tubing
The first step is to determine the total volume that the sample gas must travel through. The sample tubing is essentially a long cylinder. The formula for the volume of a cylinder is:
Where:
V is the Volume (in cubic meters, m³).
π (Pi) is approximately 3.14159.
r is the internal radius of the tubing (in meters, m). The calculator takes the diameter in millimeters (mm) and converts it to radius in meters.
L is the length of the tubing (in meters, m).
Step 2: Determine the Average Pressure in the Tubing
Gas is compressible, meaning its volume changes with pressure. The pressure is highest at the process tap (P₁) and lowest at the analyzer inlet (P₂). To account for this compression accurately, we must use the average pressure inside the tubing.
First, we need to convert the pressures from gauge pressure (barg) to absolute pressure (bara). Gauge pressure is the pressure relative to atmospheric pressure, while absolute pressure is the pressure relative to a perfect vacuum. Scientific formulas require absolute pressure.
The calculator uses a standard atmospheric pressure of 1.01325 bar.
Once we have the absolute pressures, we can calculate the average pressure:
Step 3: Correct the Flow Rate for Average Pressure
The flow rate (Q) is typically measured at the outlet of the analyzer, where the pressure is lowest (P₂). However, because the gas is more compressed inside the tubing (at the higher average pressure, P_avg), its actual flow rate there is slower.
We use a relationship from the Ideal Gas Law (specifically Boyle’s Law, which states for a fixed amount of gas) to correct the measured flow rate to the conditions inside the tube. Since flow rate (Q) is volume per unit of time, we can write:
The flow is measured at the analyzer pressure (P₂), so . Rearranging the formula to solve for the average flow rate () gives:
The calculator first converts the measured flow rate from milliliters per minute (ml/min) to cubic meters per second (m³/s) for consistency in units.
Step 4: Calculate the Final Lag Time
Finally, with the total tubing volume and the average flow rate inside the tube, the lag time can be calculated using the fundamental relationship:
Substituting our calculated values:
The result is given in seconds, which can also be easily converted to minutes by dividing by 60. This final value represents the total time it takes for the sample to travel from the tapping point to the analyzer.